Advanced Configuration
You can freely adjust all shock parameters and connection behaviors through the ModConfig visual interface in the game.
Safety Notice
All baselines for "Minimum Intensity" and "Damage Cap" depend entirely on the channel limits you manually raise in the Coyote APP. Therefore, your first line of safety defense is always the limit settings on your phone!
Basic Connection Settings
- Port Number: The port on which the WebSocket server listens. After modifying this, the QR Code needs to be refreshed.
- Bind IP Address: By default, it binds to the local network address of the network interface capable of accessing the internet. Leave it blank. If you need to use intranet penetration for remote control, you can manually specify it.
- Max Connections: The number of APPs allowed to connect at the same time (default
8). - Show QR Code / Disconnect All: It is highly recommended to bind handy hotkeys!
Shock Settings and Parameter Tuning Suggestions
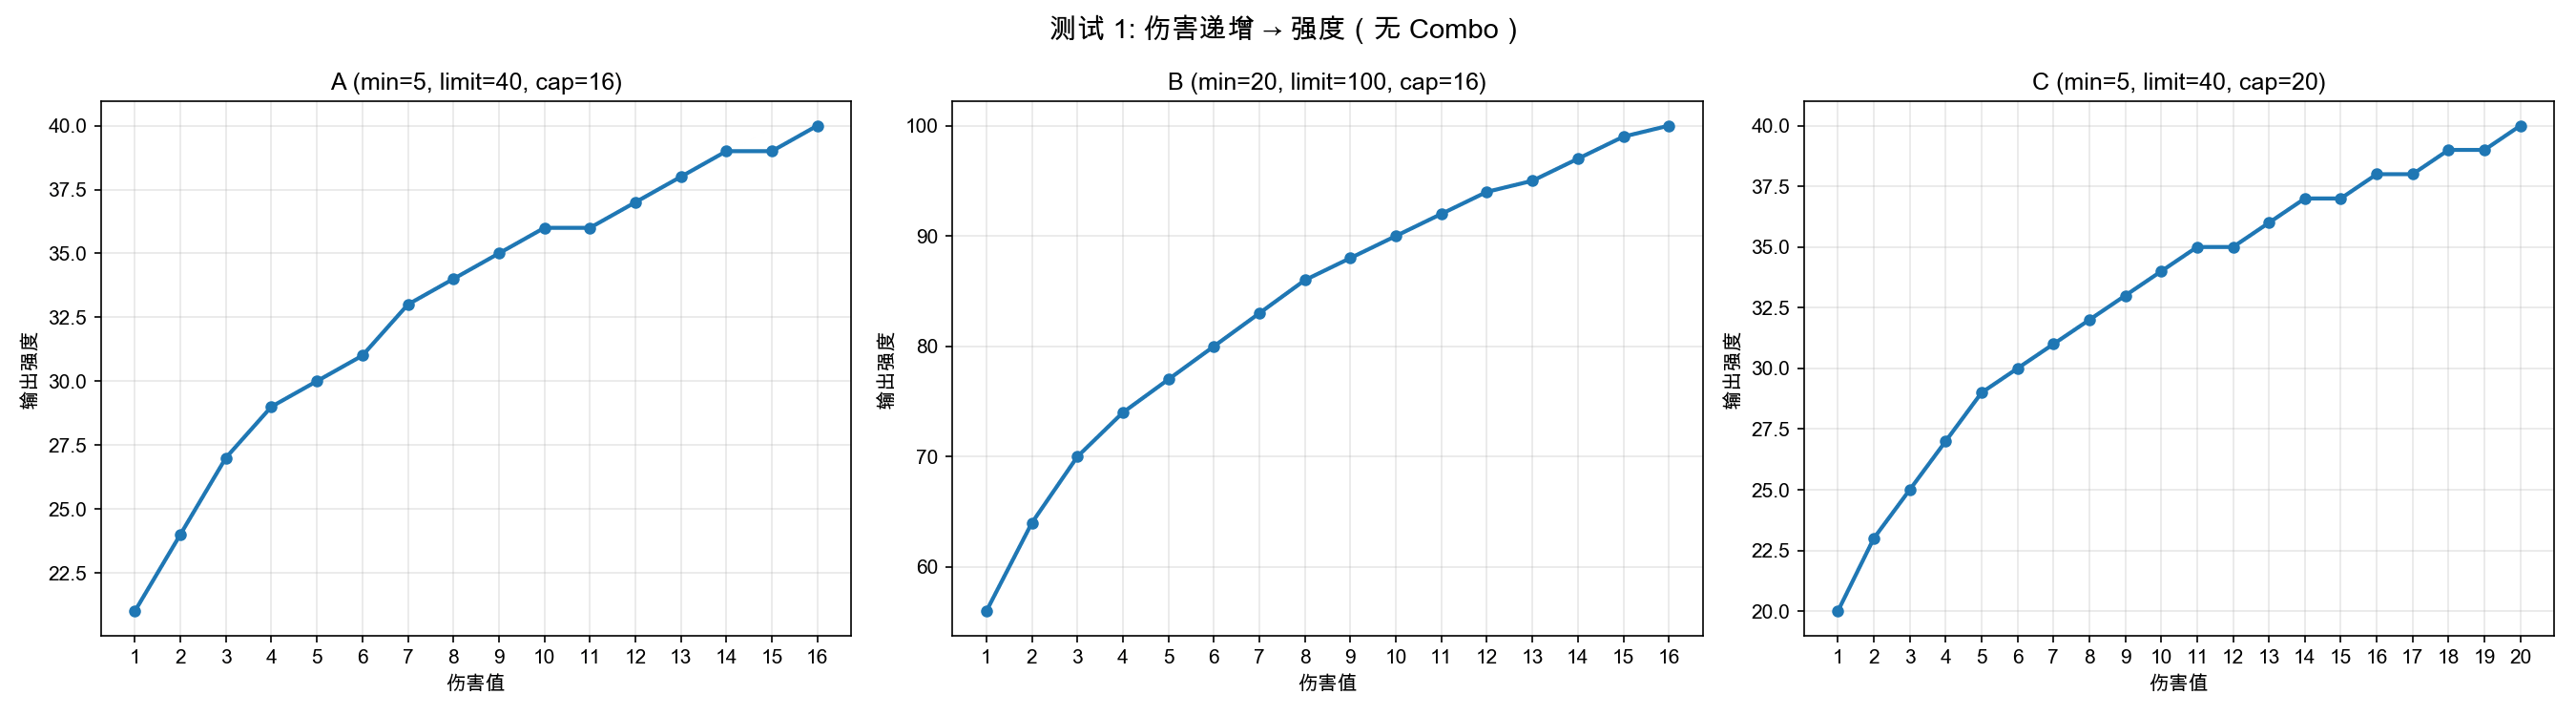
The default parameters (Minimum Intensity=5, Damage Cap=25) belong to a conservative design, perfectly suited for players experiencing this for the first time. You can adjust these values according to the channel intensity limit set in your Coyote App to suit your desired style:
- Minimum Intensity: Recommended to set at
App Channel Limit × 5%(The starting value that you can feel but isn't stimulating). - Damage Cap: Once the Lightning Orb deals damage greater than this value, the current intensity will no longer increase.
Damage Cap Style Reference Table:
| Style | Recommended Damage Cap | Description |
|---|---|---|
| Mild | 30 | Suitable for long-term light casual play, hard to reach maximum shock. |
| Standard | 20~25 | Default recommendation, balanced damage curve. |
| Radical | 12~15 | Thrill-seeking! Even low damage feels very stimulating. |
Typical Damage Reference (at 25 cap)
3 Damageyields about50%(Passive without Focus)8 Damageyields about71%(Evoke without Focus)11 Damageyields about78%(Evoke with 3 Focus)
Waveform Selection
You can independently configure different Waveforms to be enabled for Channel A and Channel B. We've preset several official classic Waveforms:
| Waveform Name | Internal ID | Applicable Scenario / Notes |
|---|---|---|
| Breath | Breath | Classic breath, 12 sets cycle |
| Tide | Tide | Streamlined for short shocks, rolling and cresting |
| Batter | Batter | Streamlined for short shocks, strong impact |
| Pinch | Pinch | Streamlined for short shocks, high frequency |
| PinchRamp | PinchRamp | Crescendo pinch, suitable for high damage |
| Heartbeat | Heartbeat | Simulates heartbeat |
| Squeeze | Squeeze | Streamlined for short shocks |
| Rhythm | Rhythm | Streamlined for short shocks |
Custom Waveform Extension
If there are no Waveforms that satisfy you, you can expand by adding Waveform files!
- Ensure the Mod has been started at least once, which automatically creates the folders.
- Go to the
TazeU/waveforms/folder under the game's Mod directory. - Create or place V3 Waveform data in
.jsoncformat. - Restart the game to use your custom Waveforms in the Waveform dropdown menu!
Custom Format
The JSONC format is very simple. It just needs to contain the name field (the display name in the dropdown menu) and the data array. For specific V3 Waveform hexadecimal encoding details, you can refer to the DG-LAB Official Protocol Documentation.
Based on experience recommendations, custom Waveform length should not exceed 15 sets (i.e., 1.5 seconds). Excessively long Waveforms might lead to a shock experience that isn't tight enough, especially in battles with frequent triggers.